- 0 Comments
- By James Wisler
- Water Heater Water Heater Repair
- [otfliker]
Water heaters are one of the most important appliances in your home. This is a significant investment and most of our customers want to ensure they protect their investment for as long as possible. Annually servicing a water heater by flushing it extends its lifespan and can prevent a costly disaster in your home.
Flushing your water heater is easy and removes harmful deposits that can build up at the bottom of the tank after prolonged use. This sediment can block or clog your water heater’s pressure relief valve (preventing it from bursting) and cause corrosion. Sediment can also cause your water heater to be less efficient, reducing hot water production over time and making it less energy efficient.
Below is a simple guide to show you How to Flush Your Water Heater & Why Should I Flush my Water Heater?:
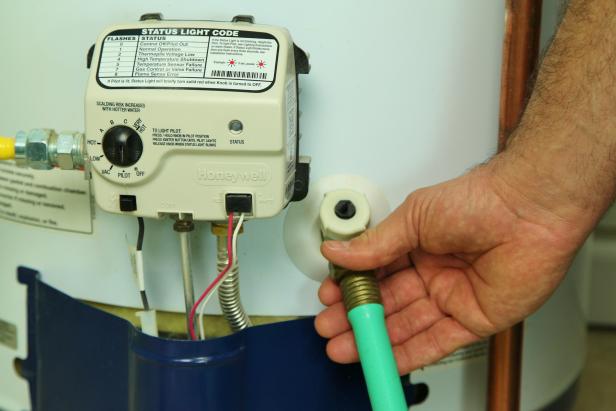
Step 1: Turn off Gas or Electricity
If you have a gas water heater, turn the gas faucet to the “off” position. If your water heater is electric, turn off the power to the water heater.
You must turn off an electric water heater completely before flushing or you risk burning out the heating element.
Step 2: Shut off the Water
Shut off your water heater’s water supply.
It is important to wait for the water in the water heater to cool before flushing because it can remain hot. Start this step in the evening when hot water is no longer needed in your household. If you are not concerned about the water temperature, skip to step 3.
Step 3: Open a Faucet
Turn on a hot water tap somewhere in your home. If you want to drain your water heater quicker, look for the tub faucet as this will likely have the highest flow rate in your home.
Step 4: Connect a Hose to the Drain Valve
For this step, you will need a hose that you will connect to your water heater’s drain valve. Next, run the pipe to a drain, either inside your home or outside. A typical garden hose will do.
Step 5: Open the Drain Valve
Now that your hose is connected and positioned over a drain, open the drain valve on your water heater and allow the tank to drain completely.
Step 6: Turn Water Supply Back on and Flush
Once your water heater tank is completely empty, turn the cold water source back on. Then allow the water to flow through the water heater and out the drain valve for about 5 to 10 minutes.
You will know your water heater has been successfully flushed when water is clearly flowing from the pipe.
Step 7: Refill the Tank
After your water heater has been flushed and all debris removed, it’s time to refill it. You need to close the drain valve and remove the hose. Then allow the tank to fill while the cold water source is still on. You’ll know the tank is full when water comes out of the hot water faucet you left on.
Congratulations! Your water heater is now successfully flushed and ready to operate at peak efficiency again. By following these simple steps, you can get the most out of your water heater year after year.
If you have any questions about how to perform this maintenance, call Wisler Plumbing, HVAC & Electrical. Our experienced technicians will be happy to answer your questions.


Leave Your Comment